G2Image in Drupal using TinyMCE with WYSIWYG API
UPDATE: This post is quite old now and wont work with the latest version of WYSIWYG API, will try to update this soon.
Gallery2 is one of the best galleries available which could be integrated with Drupal easily you would have read my post on integrating it earlier, after you have integrated it the bigger question is how get those images into your content or nodes so this posts answers it, after reading this post you would be able to integrate Gallery2 with your WYSIWYG (TinyMCE) Editor.
Prerequisites
- Drupal 6 of course
- Gallery2
- Galley2 Module Integrated in Drupal
- WYSIWYG API with TinyMCE
- G2 Image Application
The Steps
- Extract G2 Image Application in $DRUPAL_HOME/sites/all/modules/wysiwyg/tinymce/jscripts/tiny_mce/plugins/
- Open Gallery Setting in Web Browser from $SITENAME/admin/settings/gallery/g2image and enable G2Image for TimyMCE as shown in the image below
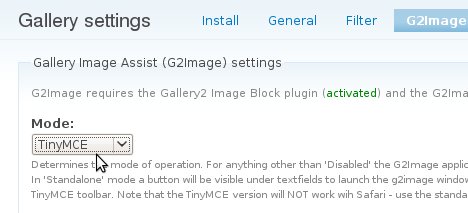
- Once you have selected the Mode as TinyMCE add the following code in %drupal%sites/all/modules/wysiwyg/editors/tinymce.inc (function wysiwyg_tinymce_plugins($editor))
'G2Image' => array(
'path' => $editor['library path'] .'/plugins/G2Image',
'buttons' => array('G2Image' => t('G2Image')),
'internal' => TRUE,
'load' => TRUE,
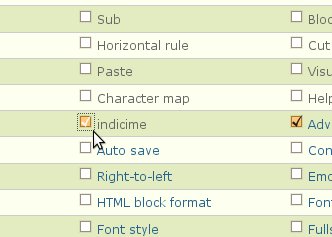
), - Now enable G2Image button for TinyMCE from the editor profile at "admin/settings/wysiwyg/profile/edit/2"

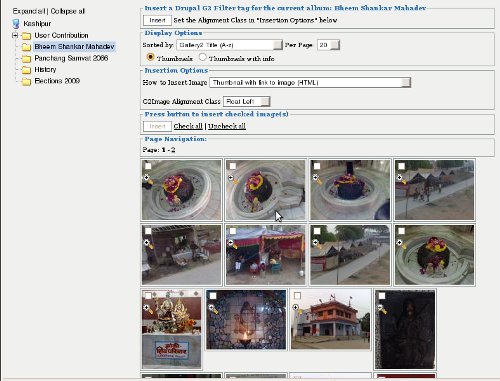
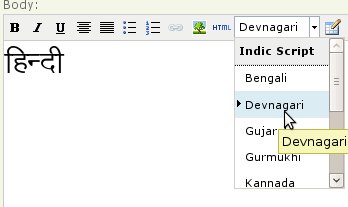
- Thats it select G2Image button in TinyMCE

it will popup a Galley as shown below for you to select images and insert them directly in your posts :)